Resources
- Police Tire Lineup
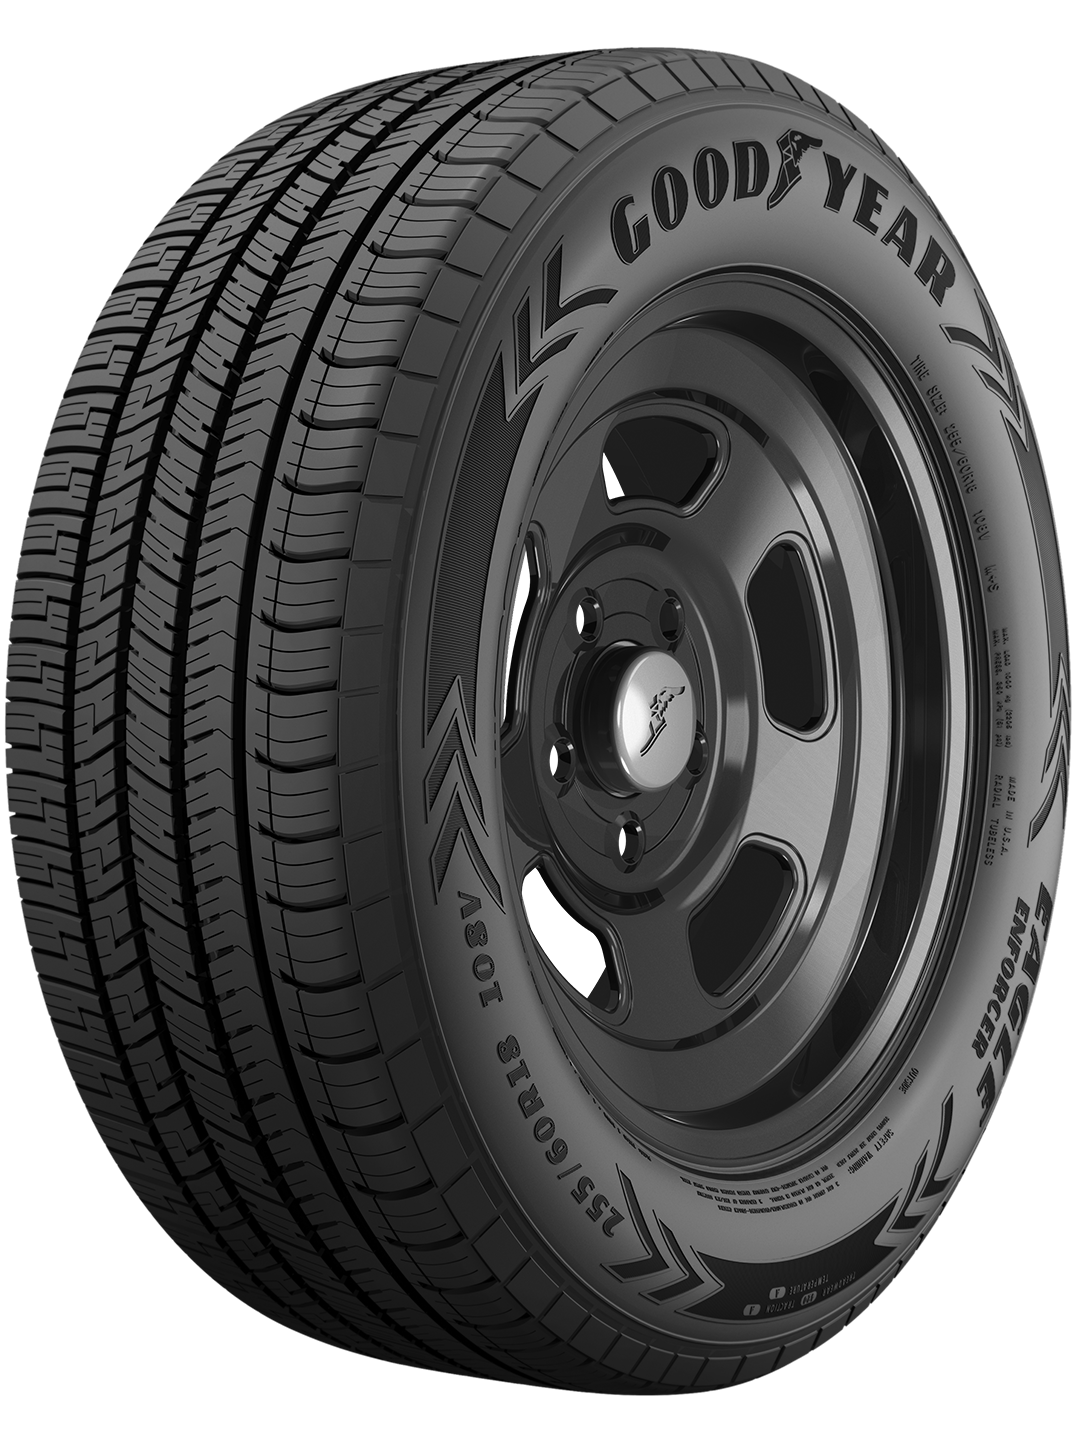
- Eagle Enforcer All-Season
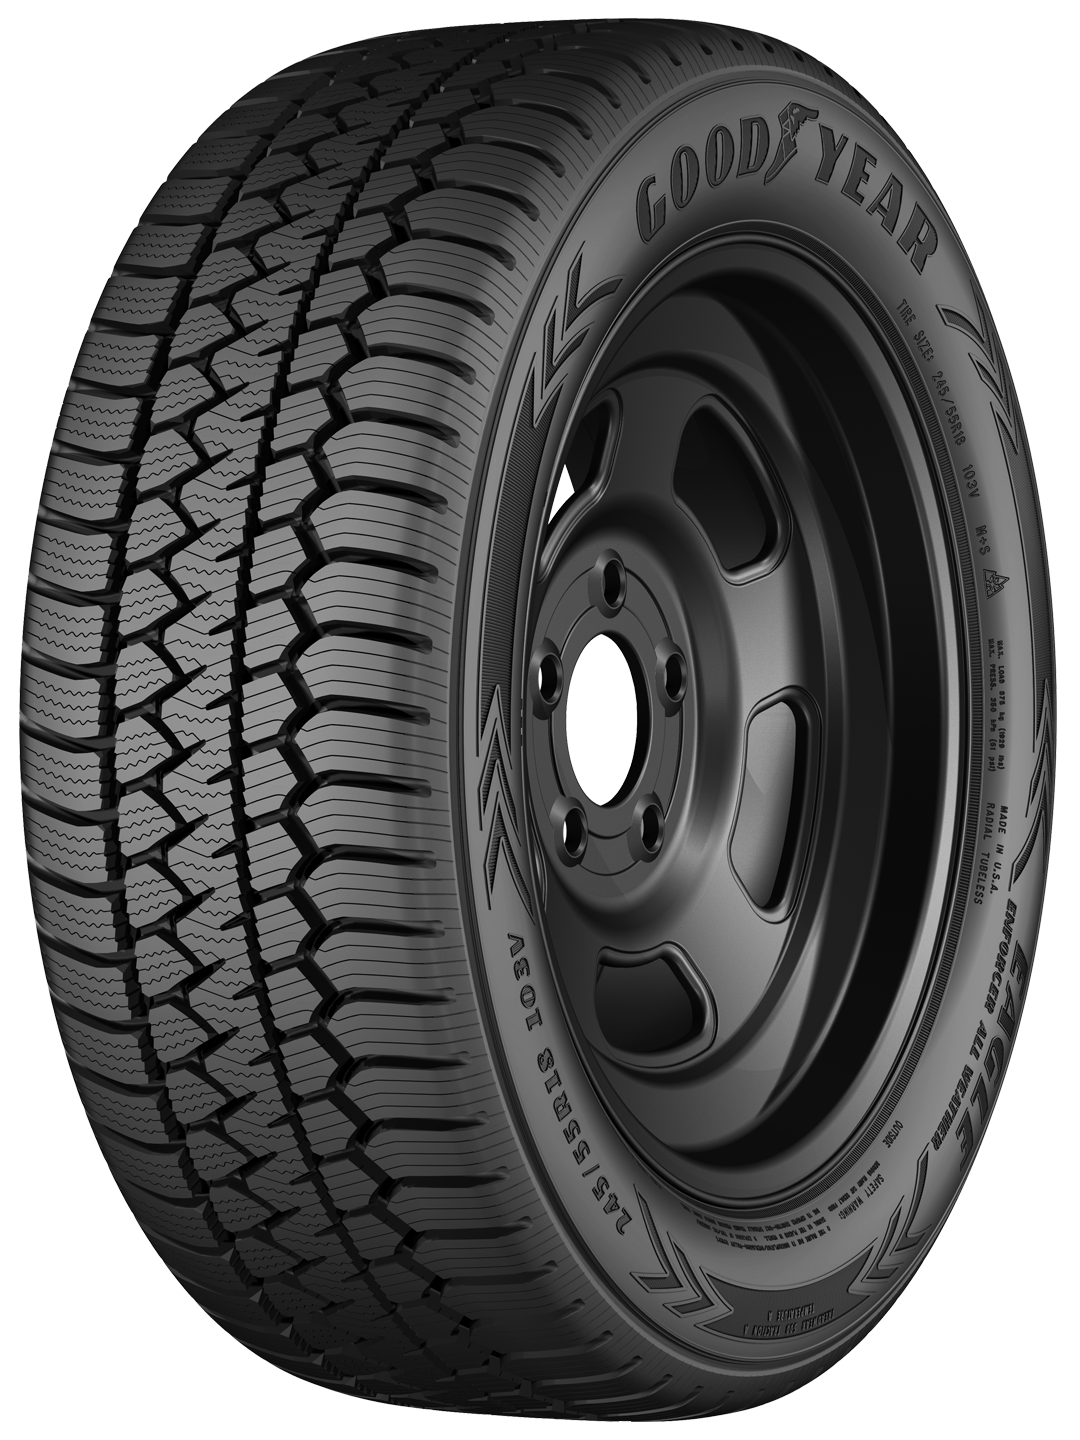
- Eagle Enforcer All Weather
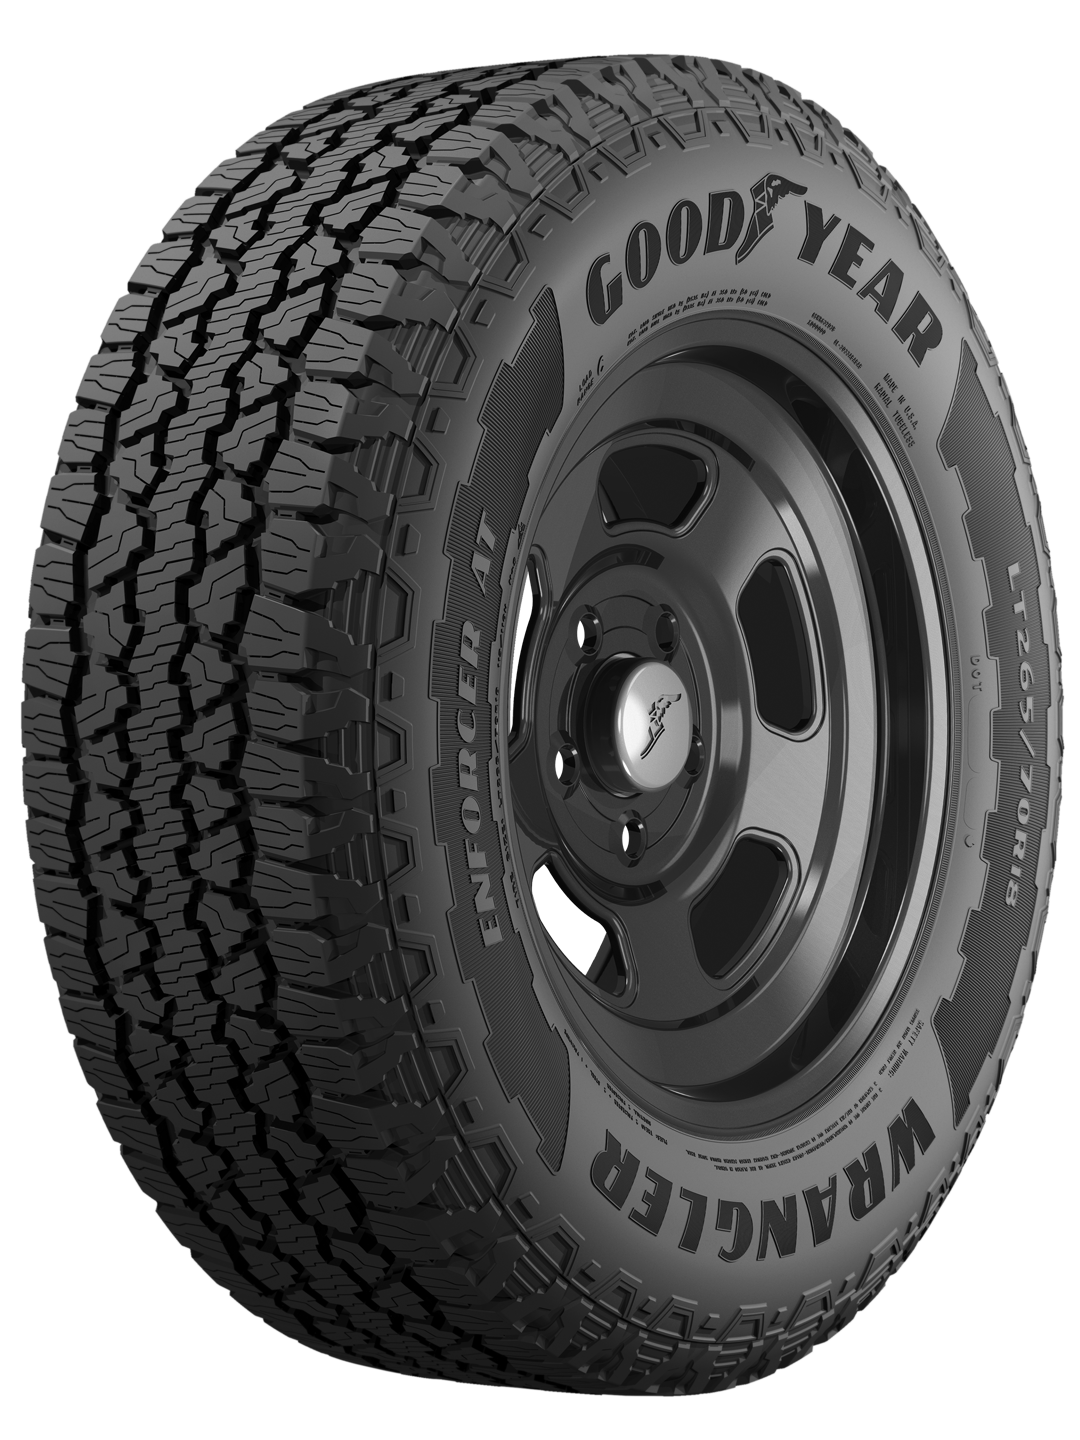
- Eagle Enforcer Family
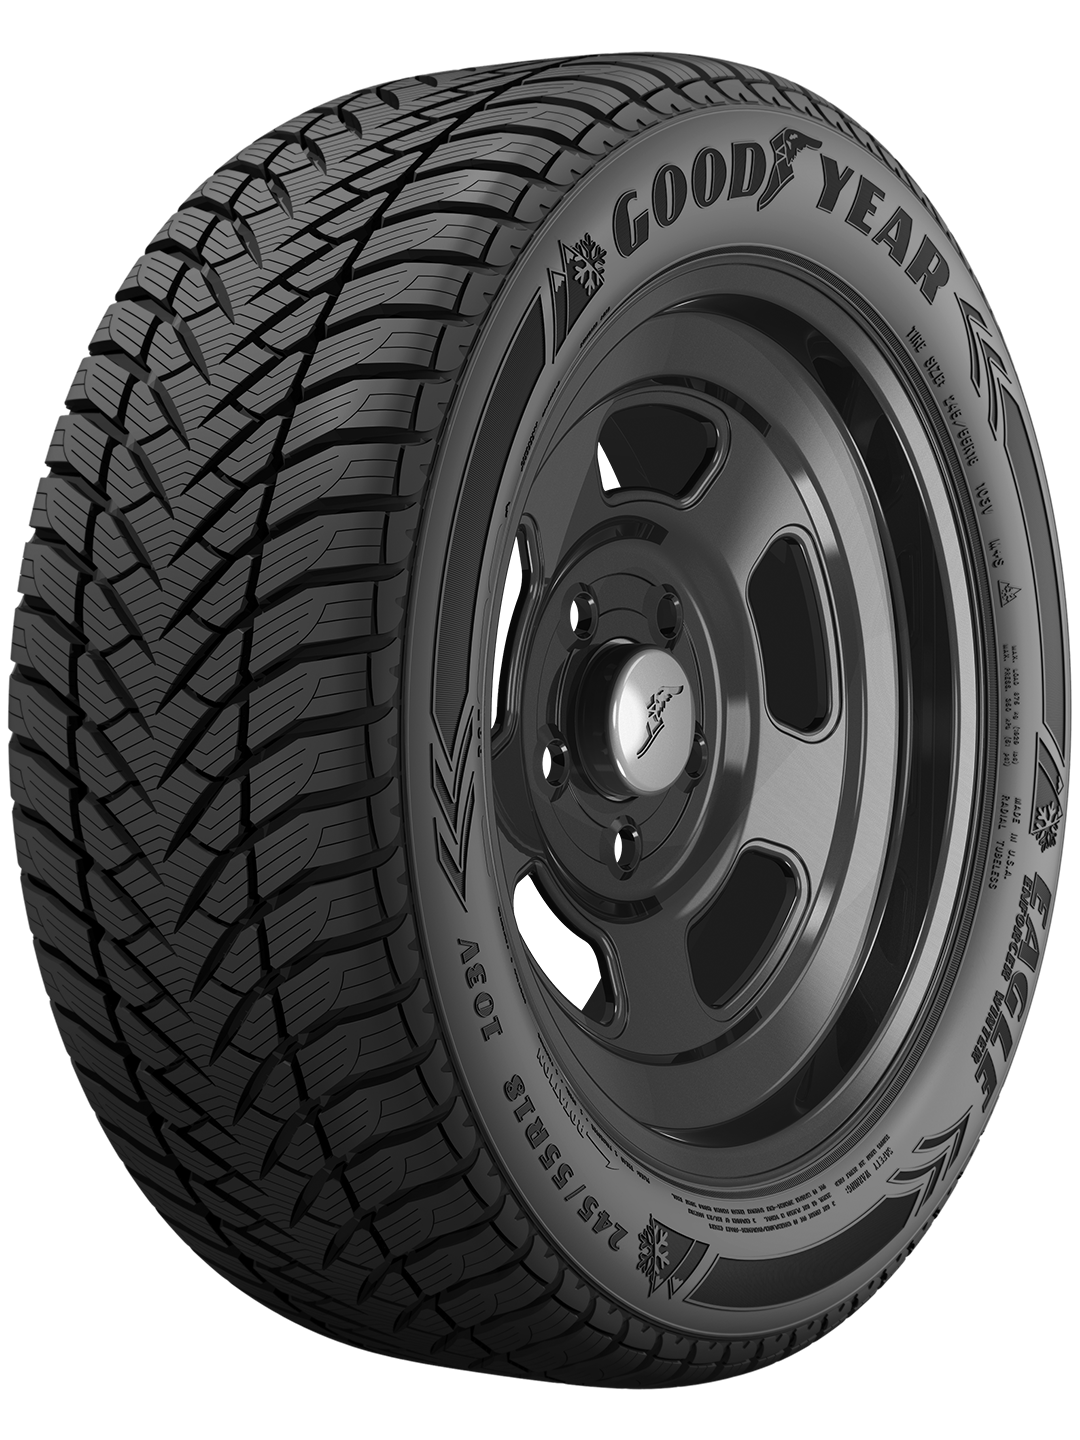
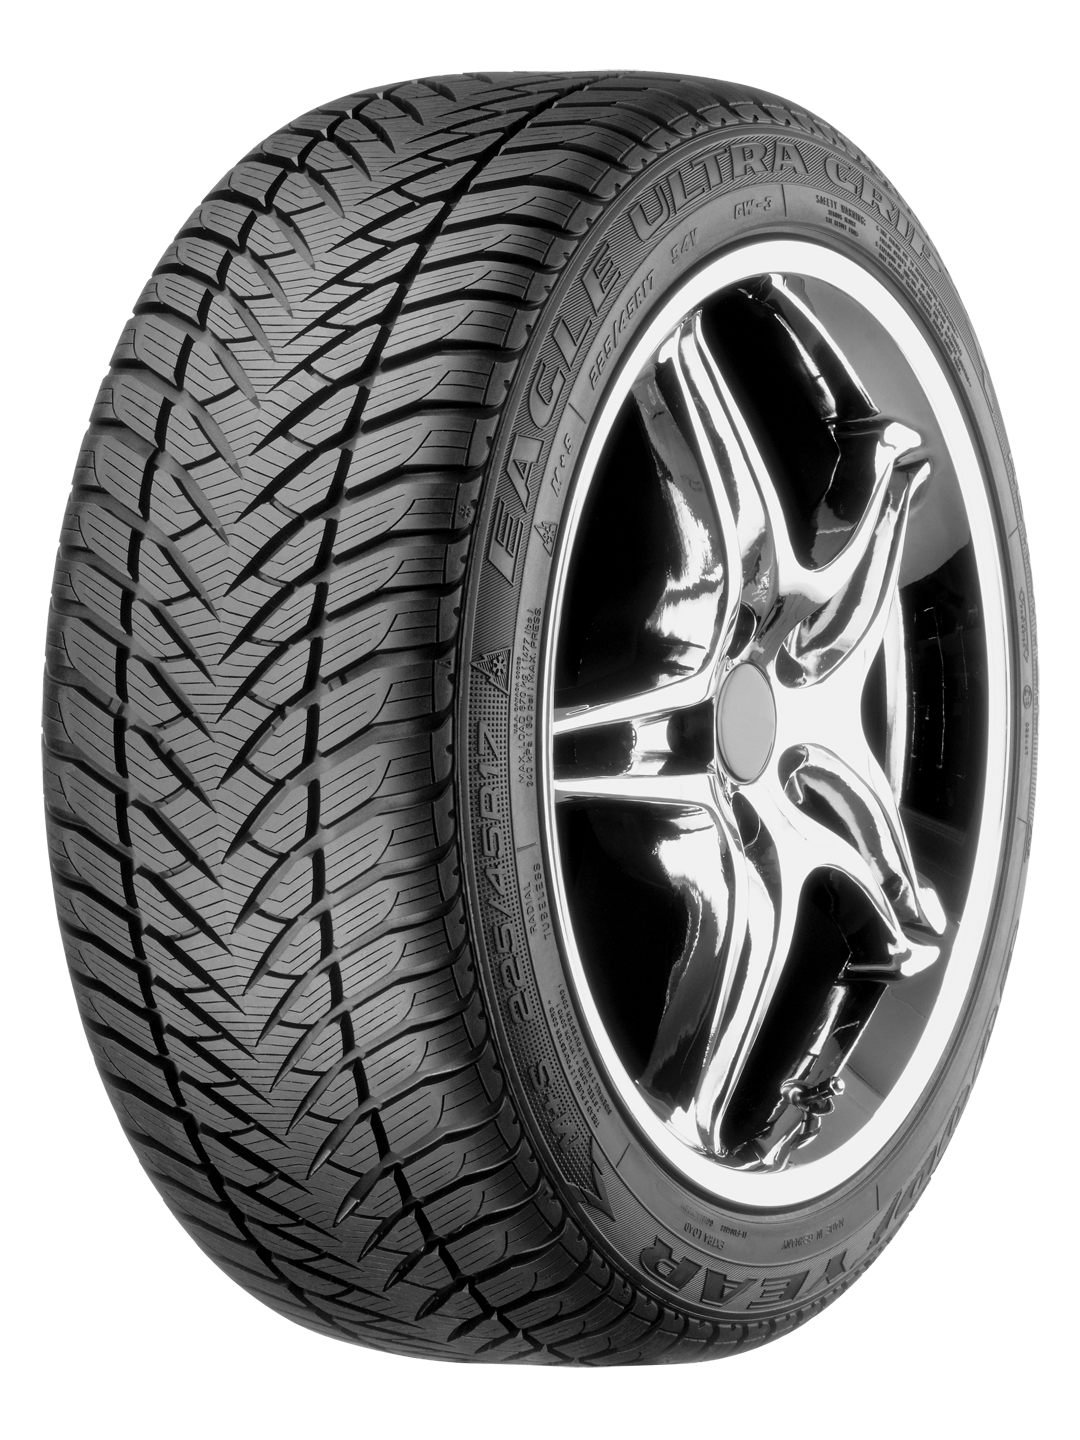
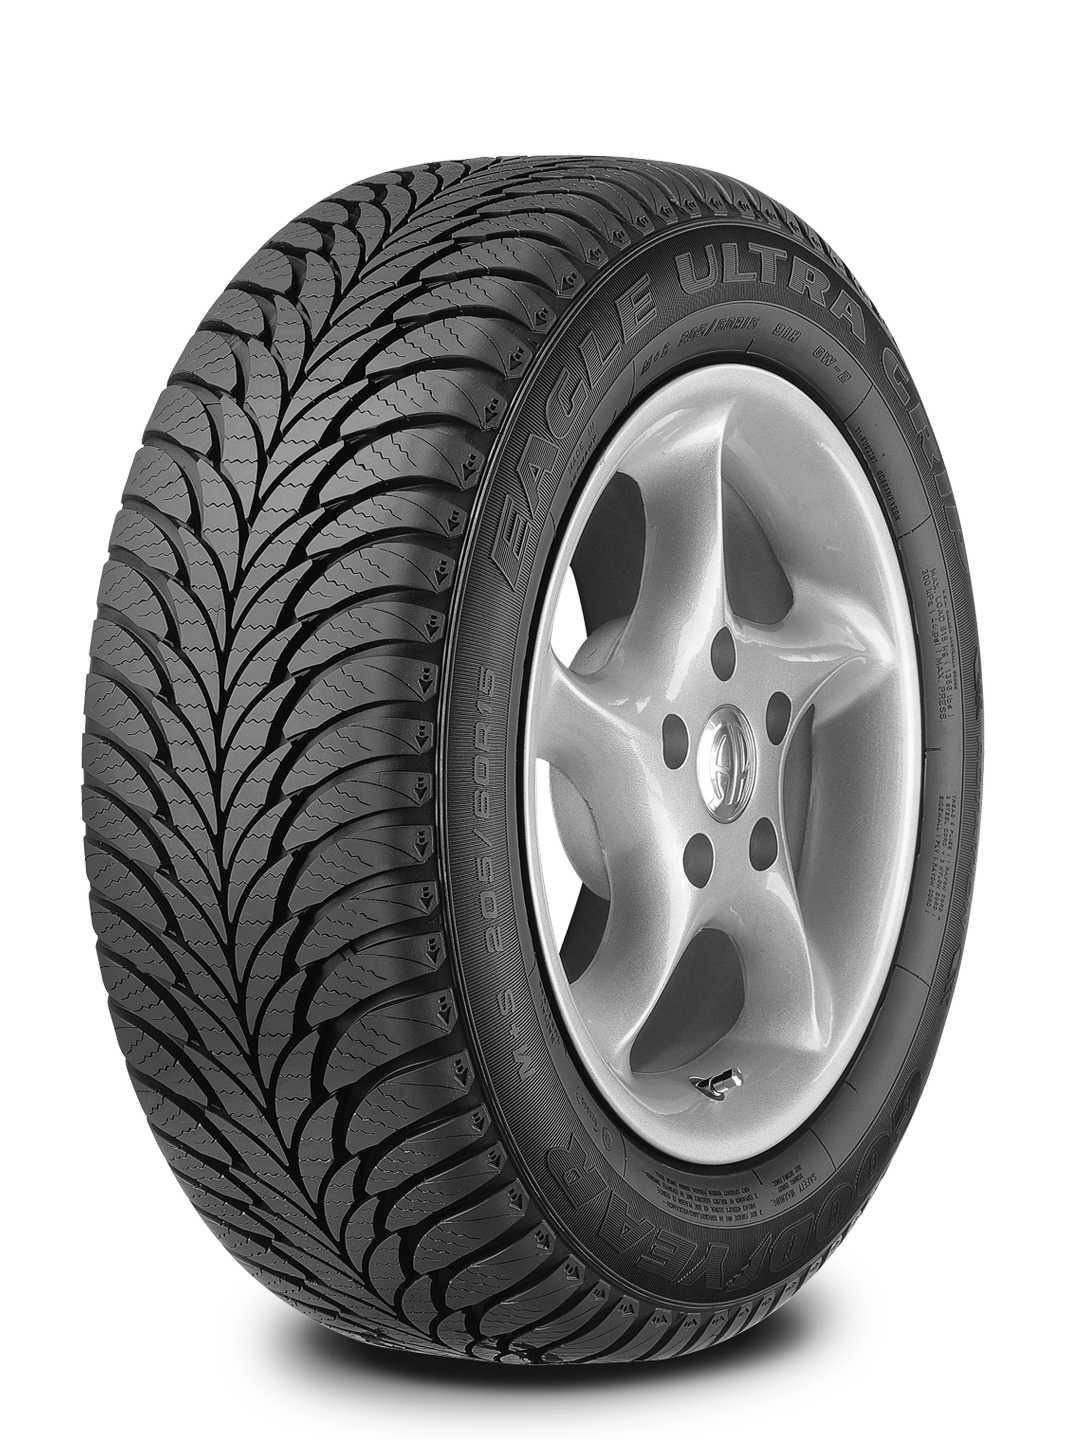
- Eagle Enforcer Winter
Bulletins
- CATL-1922
- Guidelines for Tire Size Mixing, Tire Construction Mixing, Tire Tread Design Mixing, New Tire Installation, and Tire Rotation of Auto and Light Truck Tires
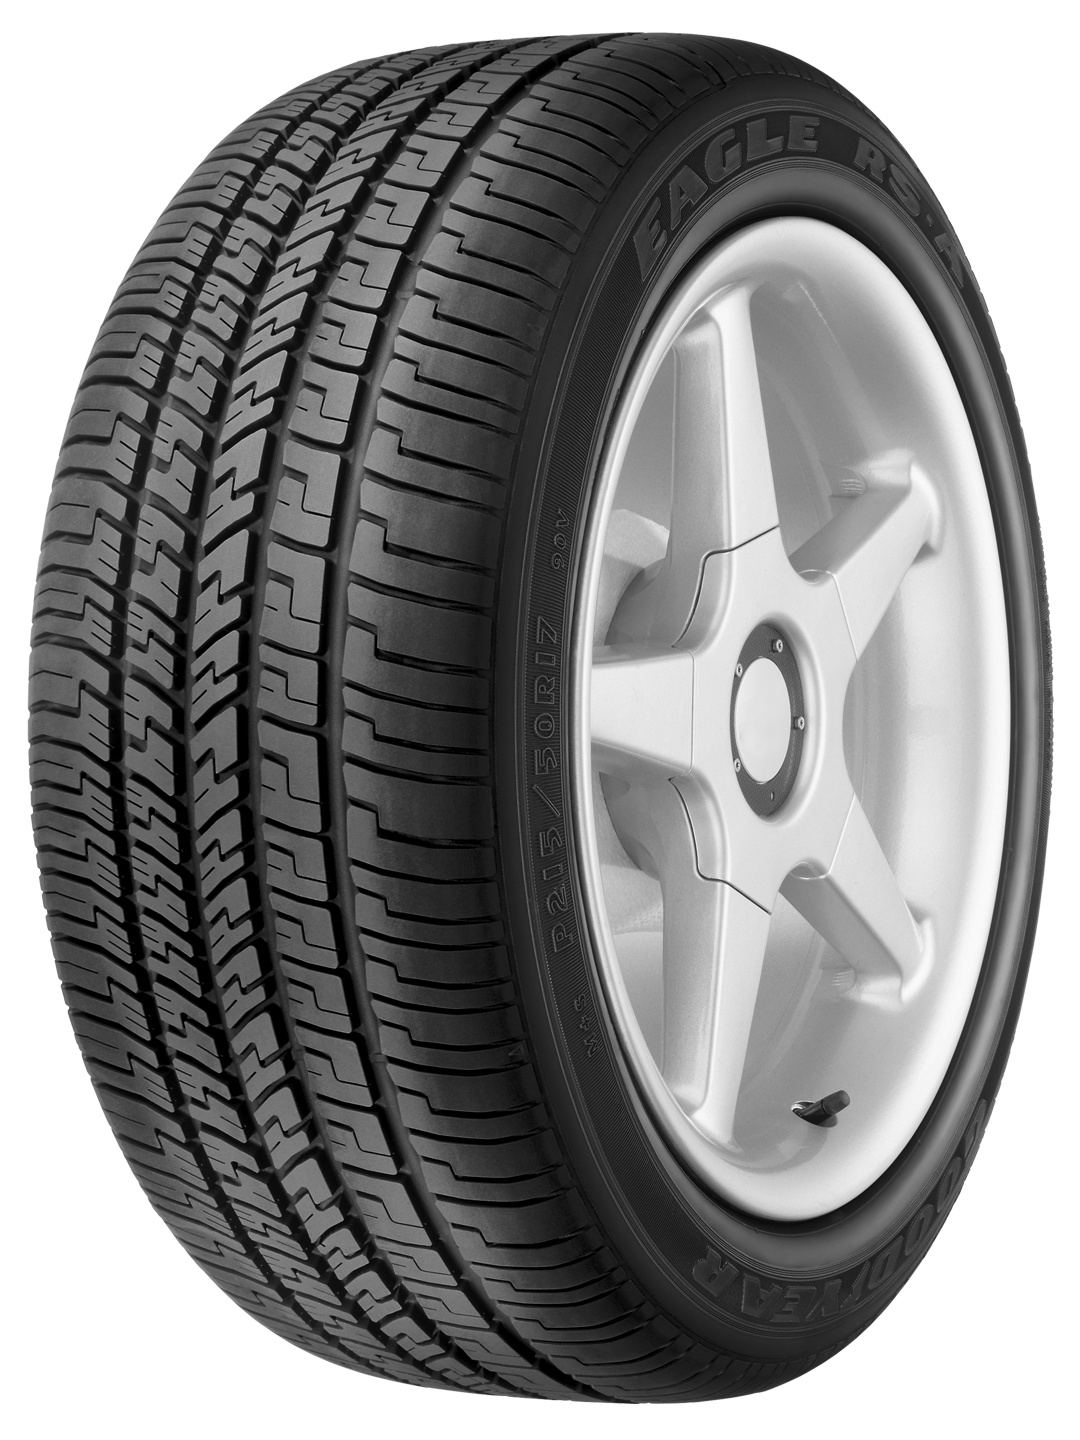
- P235/55R17 Eagle RS-A 98W VSB - Law Enforcement Applications
- P225/60R16 Aramid Overlay Eagle RS-A Plus tire in Law Enforcement Applications
- PSB2003-06 Puncture Repairing and Retreading of tires that are “H” Speed-Rated and higher (equal to or greater than 130 mph) includes Goodyear EMT & Dunlop DSST tires
- PSB2021-11 Replacement Tires for Law Enforcement and Police Pursuit Vehicles
- Proper Procedures for the Storage of Tires
- Proper Puncture Repair Procedures For Passenger & Light Truck Tires
- Tire Inflation Recommendations for Auto and Light Truck Tires
- Winter Tire Applications for Law Enforcement and Emergency Vehicles